

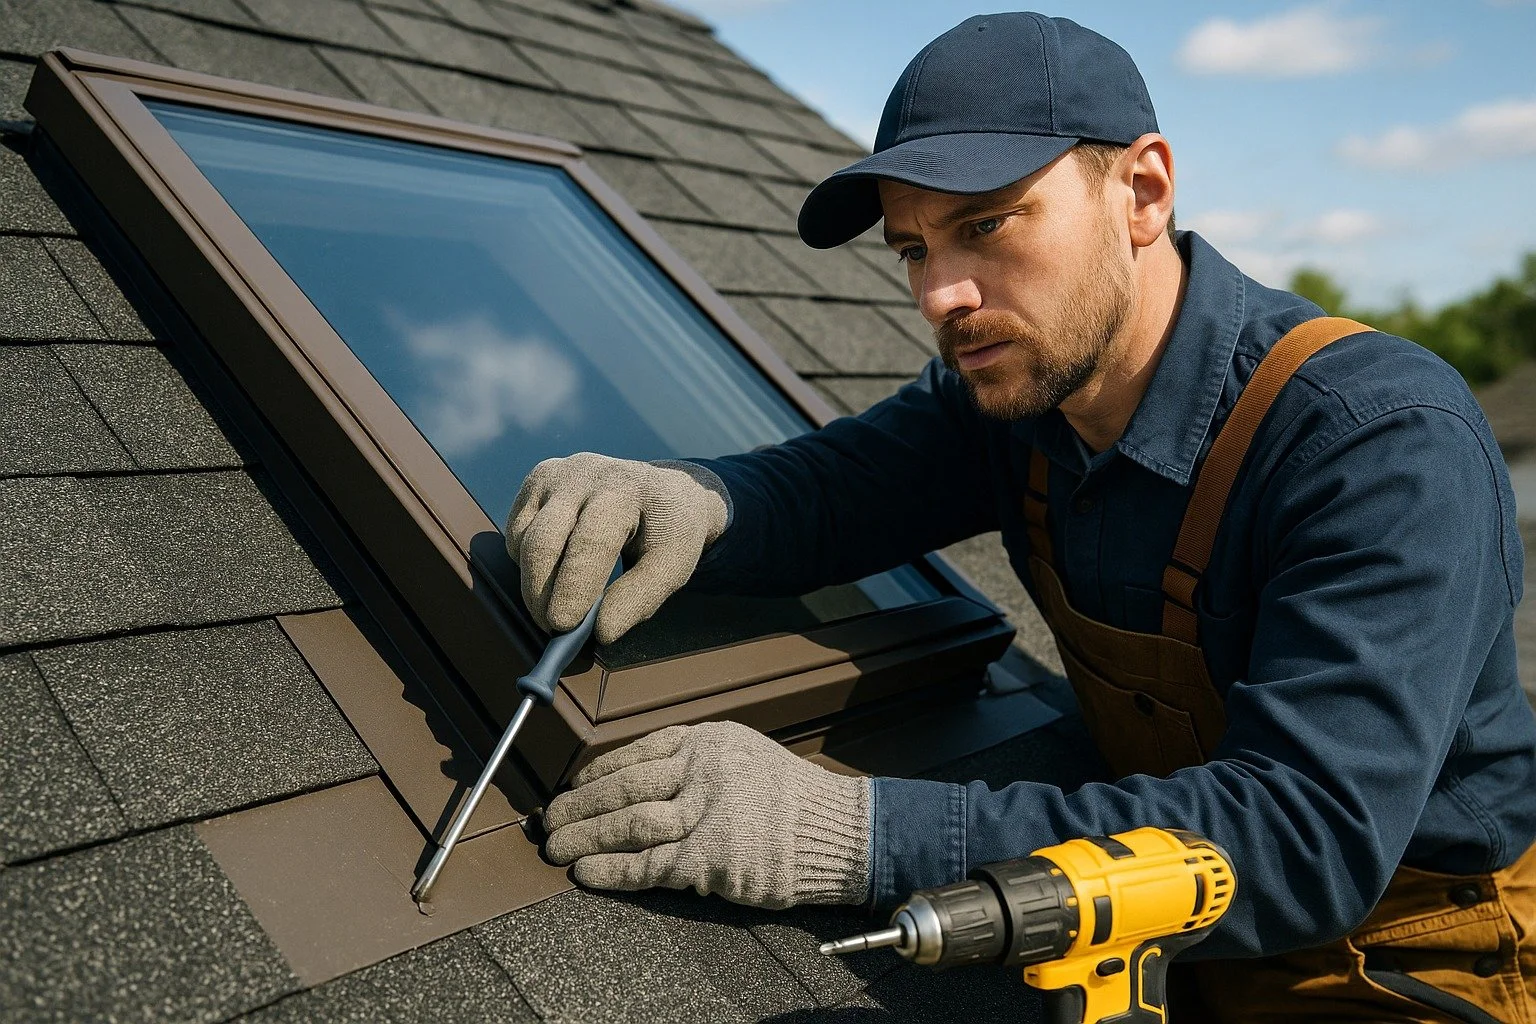
A leaky or fogged skylight can turn a bright, inviting space into a source of stress. If you live in a climate with heavy snow, spring thaws, and sudden temperature swings, your skylight takes a beating. The good news is that many common issues are fixable with patience, the right tools, and clear guidance.
In this beginner-friendly guide, you'll learn how to assess your skylight safely, diagnose the most common problems, and choose the correct materials — sealing minor leaks, checking flashing and curb integrity, resecuring fasteners, and improving ventilation to reduce condensation. You'll also learn when a quick fix is enough, when replacement is smarter, and when to call a licensed pro.
Understanding Skylight Issues
Freeze-thaw cycles put skylights under real stress, so it helps to know the early warning signs. The most common problems are leaks at the flashing or seals, drafts from worn weatherstripping, condensation or fogging between panes, and cracks from debris or thermal stress. About 80% of skylight leaks appear within 5 to 10 years after installation, so inspect annually and after major storms.
Materials and prerequisites
Choose a clear day, use a steady ladder and safety gear, and bring a flashlight, binoculars, a tape measure, and a phone for photos.
Step-by-step assessment
- Interior check: look for stained drywall, peeling paint, or damp wood around the shaft and ceiling.
- Draft test: on a breezy day, feel for air movement along the frame and weatherstripping.
- Exterior scan: from the ground with binoculars, look for cracked glazing, missing shingles, and gaps in flashing.
- Efficiency snapshot: note single glazing or yellowed acrylic, persistent condensation, and rising winter bills.
Gather the Necessary Tools and Materials
Assemble everything before you climb, and choose a dry day.
- Essential tools: caulking gun, putty knife, screwdriver set, utility knife, scraper, tape measure, level, soft-bristled brush, spray bottle and bucket
- Deck-mounted glass (asphalt shingles): neutral-cure exterior silicone, butyl flashing tape, aluminum step flashing, ice-and-water membrane
- Curb-mounted acrylic domes: butyl gaskets, neoprene washers, new dome fasteners
- Flat roofs: flashing and lap sealant matched to EPDM, TPO, or modified bitumen
- Safety kit: rated extension ladder with stabilizers, non-slip shoes, full-body harness, roof brackets, hard hat, safety glasses, cut-resistant gloves
Choose cold-rated silicone and tapes that stay flexible in deep freezes, and use self-adhered membrane at least 9 inches around the curb to manage wind-driven rain and meltwater. With this setup, most minor leaks can be resolved in 1 to 3 hours. If you find cracked glazing, sagging framing, or pervasive condensation between panes, pause and book a professional assessment.
Not sure if it's a quick seal fix or something bigger? Get an honest, no-pressure assessment.
Get a Free QuoteStep-by-Step Skylight Repair Instructions
1. Prepare
Choose a dry, wind-free day and secure a ladder that extends at least three feet above the eave. Wear non-slip footwear and fall protection, and protect the interior with a tarp. Gather sealant, flashing tape, replacement step flashing, weatherstripping, insulation, and vapor-barrier tape.
2. Diagnose the leak path
Indoors, trace stains or beading moisture to the skylight opening, noting whether it appears after storms or freeze-thaw cycles. Outdoors, inspect for cracked seals, loose flashing, missing shingles, and blocked weep holes. Clean dirt and old caulk from the frame so new products adhere well.
3. Correct flashing and fasteners
Re-seat or replace damaged step flashing so each piece overlaps the shingle course properly, fastening into the deck, not the frame. Seal laps with roofing cement and reinforce transitions with flashing tape, especially upslope where ice dams form. Tighten or replace rusted fasteners.
4. Improve air sealing and thermal performance
Replace brittle gaskets or weatherstripping on operable units. Add insulation at the shaft to eliminate gaps, then seal seams and the vapor barrier to the frame to reduce condensation risk.
5. Reseal
Remove all failed caulk, wash the frame, and let it dry completely. Run a continuous 1/4 inch bead where the frame meets flashing, tooling it smooth without blocking weep holes. Allow a full 24-hour cure, then hose-test the perimeter and reinspect after the next storm.
Maintaining Skylight Performance
Clean gently twice a year using soft cloths and mild soap — avoid pressure washers, harsh chemicals, and ammonia on acrylic or polycarbonate. Clear debris from the curb and flashing so water sheds correctly.
Considering an Upgrade
Double panes with argon and Low-E coatings reduce winter heat loss and limit summer heat gain, so your furnace and AC cycle less. In colder climates, installation angle relative to roof pitch is crucial for performance and snow shedding. If the unit is sound, re-flashing and resealing may beat replacement on cost — but persistent condensation or cracked glazing justifies an upgrade.
Conclusion
Proactive skylight care keeps interiors bright, dry, and energy efficient. Since roughly 80% of leaks arise within 5 to 10 years, schedule annual and post-storm inspections. Certified technicians verify flashing integration, seal continuity, pitch, and ventilation — and quality repairs often cost far less than replacement while extending service life by years when the unit is sound.
